Getting Started

Google Cloud Setup
Warning
Google Cloud Platform must approve several requests that may take up to 1 day to complete.
If necessary, create an account at Google Cloud and create a Google Cloud Project, making sure you have at least one account with the Owner role.
Make sure the Kubernetes Engine API is enabled.
The recent success of deep learning has been critically dependent on accelerated hardware like GPUs. Similarly, the strength of the DeepCell Kiosk is its ability to recruit and scale GPU nodes based on demand. In order to add accelerated hardware to the clusters you will launch, you will need to upgrade your Google Cloud account as they are unavailable with a free-tier account.
Note
The account upgrade may take some time, as Google will need to approve the upgrade. You may also need to log in and out of your account for the upgrade to take effect. Once your account is upgraded you should be able to see GPU options in the quota panel.
Apply for a quota of at least 1 “GPU (all regions)” and at least 16 “In-use IP addresses global”. This may take some time, as Google will need to approve each of these requests.
Note
Google offers a number of GPU types. The DeepCell Kiosk uses pre-emptible NVIDIA T4 GPUs for inference by default. To request more than one GPU, you must make a quota request for that resource in your chosen region.
Warning
Currently only pre-emptible GPUs are supported by the DeepCell Kiosk.
Create a cloud storage bucket in the default region of your project (this should be a “Standard class” bucket, which you can select using fine-grained access control). This will be used to store data and models. Record the bucket name, which will be needed during Kiosk configuration. Please do not use underscores (_) in your bucket name. Your bucket should follow the organizational structure that follows:
gs://[BUCKET-NAME]
|-- models
    |-- Exported model 1 folder
    |-- Exported model 2 folder
|-- uploads
|-- output
Please note that the Kiosk comes “preloaded” with a few commonly used models. These models are hosted in our public
deepcell-modelsbucket on Google Cloud. However, if you wish to use custom models, you can do so by altering theGCLOUD_STORAGE_BUCKETenvironmental variable in thetf-servinghelmfile. The contents of/uploadsand/outputare managed by the kiosk-bucket-monitor.
Warning
The DeepCell Kiosk is optimized for cost-effectiveness. However, please ensure that your bucket and Kubernetes cluster are in the same region. See here for details but, simply put, you pay significantly more if your Kubernetes cluster and bucket are not in the same region.
Launching the DeepCell Kiosk
One of the enabling technologies the DeepCell Kiosk utilizes is Docker (FREE Community Edition). Installation is easy for Linux and MacOS, but the setup can be complicated for Windows. For this reason, we recommend Windows users employ an Ubuntu VM or follow the cloud jumpbox workflow outlined below.
If you plan on maintaining the DeepCell Kiosk as a persistent tool, we recommend using the jumpbox workflow, which allows you to manage the system from a Google Cloud VM. This prevents unexpected or accidental computer shutdowns that occur locally from interfering with your ability to manage the Kiosk.
Select the docker installation that is best for you:
Local Docker Installation - Windows
Install WSL and the Ubuntu Linux distribution
Once installed, follow the Docker installation instructions for Linux
Local Docker Installation - MacOS and Linux
Follow the docker installation instructions for your operating system
Cloud-Based Jumpbox Workflow
Navigate to the VM instances in the Google Cloud Console.
Check that your boot disk is configured for
Debian/Ubuntuoperating system
Warning
Container optimized images do not support Kiosk installation.
All other settings can be left as defaults
After creating the instance, SSH into your instance either using the option provided by Google Cloud or through your local terminal.
If you have chosen to SSH into the machine from a terminal on your local machine, simply paste the following commands copied from the Docker installation guide for Debian
sudo apt-get update && \
sudo apt-get install -y apt-transport-https ca-certificates curl gnupg2 software-properties-common && \
curl -fsSL https://download.docker.com/linux/debian/gpg | sudo apt-key add - && \
sudo add-apt-repository "deb [arch=amd64] https://download.docker.com/linux/debian $(lsb_release -cs) stable" && \
sudo apt-get update && \
sudo apt-get install -y containerd.io docker-ce docker-ce-cli git make vim
To manage docker as a non-root user on Linux, it is required to create the
dockergroup and add your user to it using the commands below, then disconnect and reconnect to the server.
sudo groupadd docker
sudo usermod -aG docker $USER
Verify docker is installed correctly:
docker run hello-world
Starting the Kiosk
You are now ready to start the Kiosk!
Start a terminal shell and install the DeepCell Kiosk wrapper script:
docker run -e DOCKER_TAG=1.8.1 vanvalenlab/kiosk-console:1.8.1 | sudo bash
Note
This command and the one that follows may need to be preceded by sudo depending on your permission settings. This will require you to enter your password.
To start the Kiosk, just run
kiosk-consolefrom the terminal shell
Welcome Page |
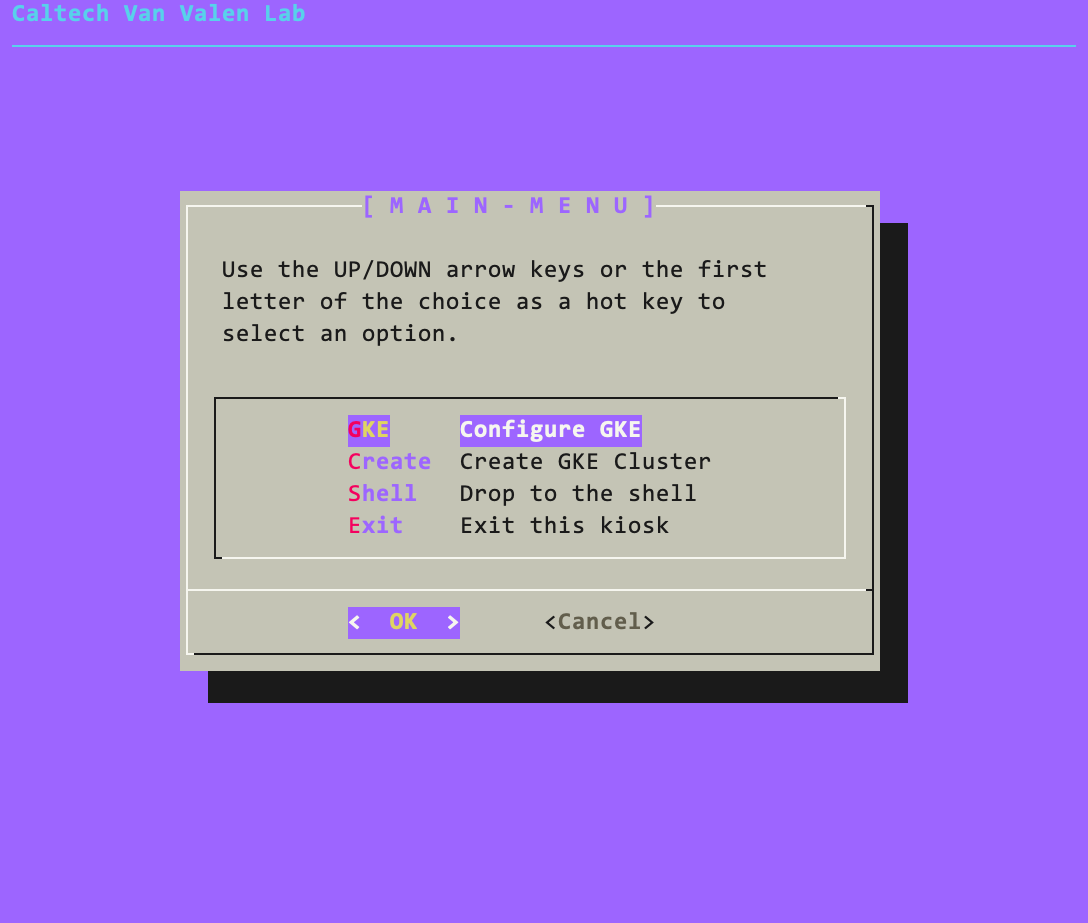
Main Menu |

|
|
Note
Those interested in Kiosk development should follow a different path to start the Kiosk which is described in Developer Documentation.
DeepCell Kiosk Usage
Once the Kiosk Console has started, select the
Configureoption for your chosen cloud provider (currently, only Google Kubernetes Engine is supported). The next screen will prompt you to authenticate your account with gcloud or to continue with a previously authenticated account. The next several screens will prompt you to select a gcloud project, name your cluster, and enter a bucket name for data storage. If you followed the Google Cloud Setup instructions from above, you should use that project and bucket name.To complete cluster configuration, you have the option to choose between “Default 1 GPU”, “Default 4 GPU”, and “Advanced” configurations. The “Default 1 GPU” configuration option sets up a small cluster suitable for users looking to explore a sandbox. The “Default 4 GPU” option configures a cluster with 4 GPUs and nodes with more memory to handle larger inference jobs. The “Advanced” option allows users to configure each setting individually.
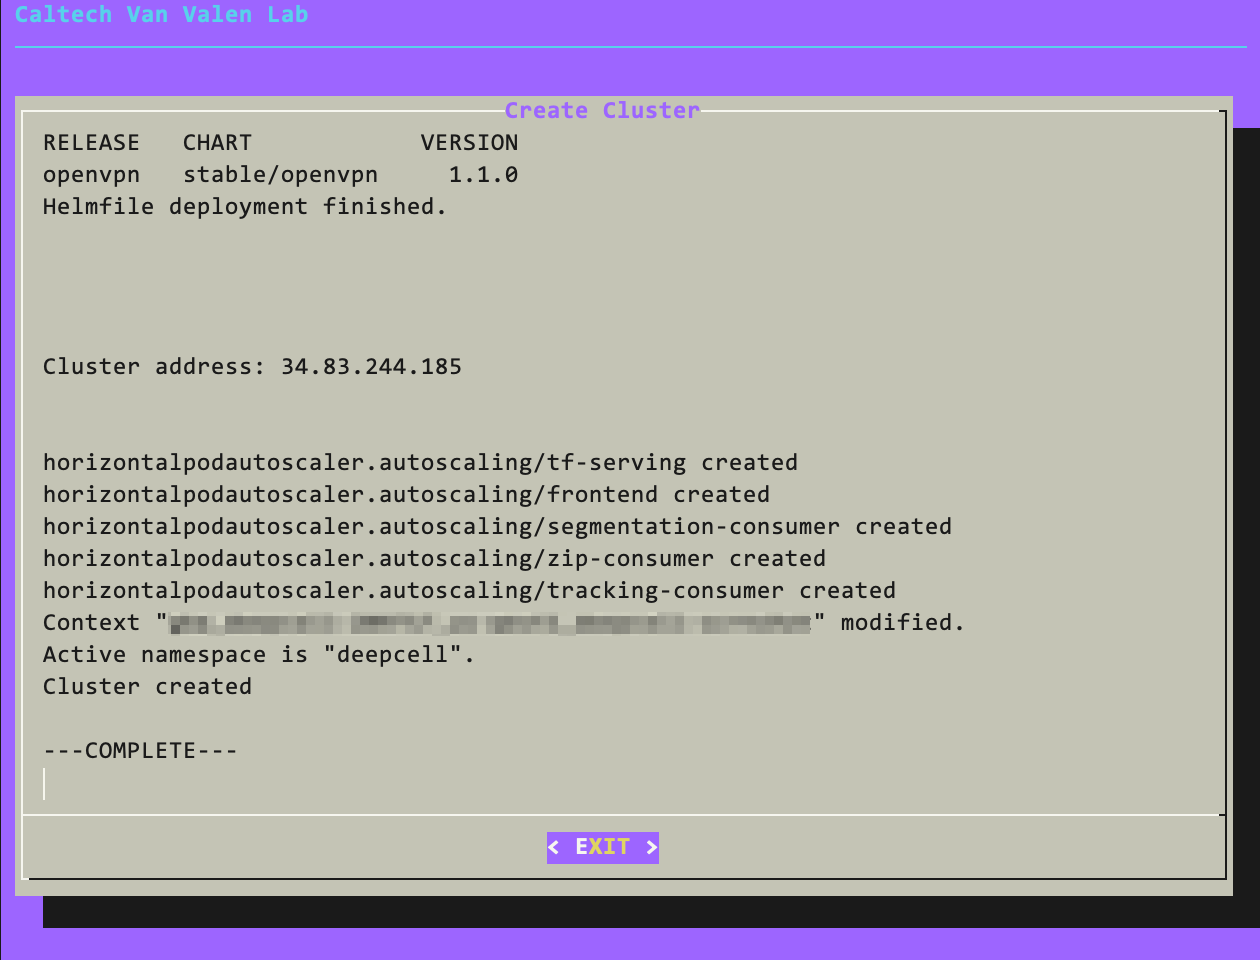
Once cluster configuration is complete, you will return to the home screen. There you can select the “Create” option to trigger cluster creation based on your configured values. This may take up to 10 minutes. Following successful creation, you will see a confirmation page.
Cluster Created Successfully |
|
Find the cluster’s web address by choosing the
Viewoption form the Kiosk’s main menu. (Depending on your chosen cloud provider and the cloud provider’s settings, your cluster’s address might be either a raw IP address, e.g.,123.456.789.012, or a URL, e.g.,deepcellkiosk.cloudprovider.com.)Go to the cluster address in your web browser to find the DeepCell Kiosk frontpage. To run a job (load raw data and download the results) use the
Predicttab.The
Predictpage on DeepCell.org allows for different job types (ie: nuclear segmentation and/or nuclear tracking). Each job type requires a specific model. For example models and data, refer to DeepCell.org.
Note
The first prediction may take some time as the model server comes online.